Signs It's Time to Replace Your Car's Radiator


Is your vehicle's radiator silently struggling to keep its cool?
As an essential guardian of your engine's well-being, the radiator plays a vital role in maintaining optimal temperatures and preventing catastrophic overheating.
Despite its understated presence, this unsung hero can only withstand the test of time for so long. When the inevitable signs of wear and tear begin to emerge, it's imperative to recognize the red flags and take action promptly.
In this article, we delve into the unmistakable indications that it's time to replace your aging radiator and seek.
So get ready to make an informed decision and ensure your vehicle's continued performance and longevity.
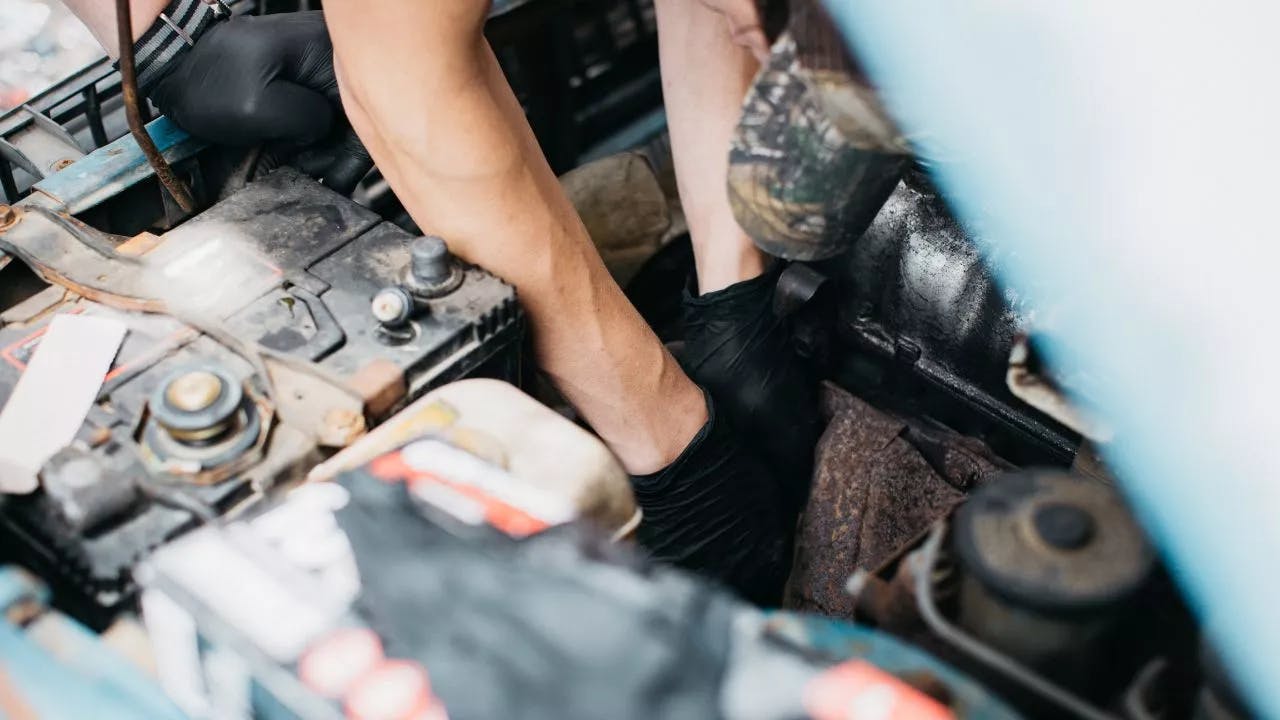
Replacing Your Radiator with Goodhood
Once you notice your radiator malfunctioning, it's time to call in the professionals at Goodhood mobile auto repair
With an experienced team of ASE-Certified technicians, we can assess your radiator and provide timely service without breaking the bank.
We specialize in carrying out a complete radiator replacement utilizing only OEM or aftermarket parts that are guaranteed to fit.
Additionally, our experienced technicians can also perform any necessary repairs or replacements of related parts, such as hoses and thermostats.
We understand the importance of keeping your vehicle in top condition, so you can count on us for superior service that lasts for years to come!
The Function of the Radiator
Your car's radiator is responsible for keeping the engine cool by preventing overheating and regulating temperatures.
It works by circulating a cooled mixture of antifreeze and water throughout the engine, transferring heat and allowing the system to run properly.
Without this crucial component, your car's performance will be severely hampered, leading to long-term damage and costly repairs.
Therefore, it's absolutely essential to be mindful of the signs that your radiator is on its last legs and replace it as soon as possible.
Signs it's Time to Replace Your Radiator
Consistent Overheating
One of the most evident signs of a failing radiator is persistent overheating. If your engine temperature gauge regularly creeps into the danger zone or if you notice steam emanating from under the hood, it's a clear indication that your radiator is struggling to dissipate heat effectively.
Over time, radiator fins can become clogged with debris and mineral deposits, hindering the cooling process. Ignoring this issue can lead to severe engine damage, so it's crucial to address it promptly.
Leaking Coolant
Engine coolant plays a vital role in maintaining proper engine temperature. Coolant, also known as antifreeze, is vital in regulating engine temperatures and preventing corrosion within the cooling system.
The water pump also circulates coolant throughout the engine and radiator.
If you notice puddles of coolant beneath your vehicle or detect a sweet smell while driving, it's likely that your radiator has developed a leak.
Leaks can occur due to cracks or corrosion in the radiator's structure, compromising its ability to maintain optimal cooling. Addressing a coolant leak promptly can prevent engine overheating and further damage to the radiator.
Rust and Corrosion
Over time, rust and corrosion can take a toll on your radiator. External signs of rust, such as discoloration or visible deterioration, indicate that the radiator's internal components may also be affected. Rust weakens the radiator's structure, making it prone to leaks and reducing its overall efficiency. If your radiator shows significant signs of corrosion, it's a clear indication that it's time for a replacement.
Cooling System Blockages
A properly functioning radiator should allow for the free flow of coolant through its internal passages. However, blockages can occur due to a buildup of debris, sludge, or mineral deposits. These blockages restrict the flow of coolant and impede the radiator's ability to dissipate heat efficiently.
If you notice fluctuating engine temperatures or experience a loss of heat in your vehicle's cabin,
it's likely that your radiator is suffering from blockages. Flushing the cooling system may temporarily alleviate the issue, but if blockages persist, replacing the radiator is the best course of action.
Visible Physical Damage
Regular inspection of your radiator is essential in detecting any visible physical damage. Look for bent or damaged fins, as these can obstruct airflow and hinder cooling efficiency.
Additionally, check for cracks or leaks in the radiator's body. Even a small crack can lead to significant coolant loss and subsequent engine overheating. If you notice any visible damage, it's advisable to replace the radiator promptly to prevent further complications.
Age and Mileage
Like all components of your vehicle, radiators have a limited lifespan. Most radiators can last between 8 to 15 years, depending on usage and maintenance. If your radiator has reached this age range or has covered a high mileage, it's prudent to consider a replacement. Aging radiators are more prone to developing issues such as leaks, corrosion, and reduced efficiency.
Replacing the radiator preventively ensures the continued reliability and performance of your vehicle's cooling system.
Rising Temperature while Idling
If your engine temperature rises significantly while idling or when stuck in traffic, it's a sign that your radiator may not be functioning optimally. This issue can be attributed to reduced airflow due to a failing radiator or a malfunctioning radiator fan. The radiator fan works in conjunction with the radiator to enhance cooling by drawing air through the radiator fins.
If the fan fails to operate correctly or if there is a problem with the fan motor, the radiator may struggle to dissipate heat efficiently, leading to increased temperatures. If you notice a consistent rise in engine temperature during idle periods, it's crucial to have your radiator and cooling system inspected.
Engine Misfires or Performance Issues
A failing radiator can have an indirect impact on your vehicle's engine performance. Excessive heat can affect the combustion process, leading to engine misfires or a noticeable decrease in power and acceleration. If you experience these performance issues alongside other signs of radiator trouble, it's advisable to have your radiator inspected by a qualified mechanic.
Coolant Discoloration or Contamination
In a healthy cooling system, coolant remains a vibrant color, such as green, orange, or pink, depending on the type of coolant used. However, as the radiator ages or develops issues, the coolant may become discolored or contaminated.
Look for signs of rust, oil, or debris in the coolant. Discolored or contaminated coolant not only indicates a problem with the radiator but can also contribute to further damage if circulated through the engine. If you notice any abnormalities in your coolant, it's essential to address the issue promptly.
Persistent Coolant Odor
A functioning cooling system should not emit any noticeable odor. However, consistently detecting a solid coolant smell inside or outside your vehicle is a clear sign of a coolant leak.
Leaking coolant can be caused by various issues, including radiator damage or radiator hose deterioration. A persistent coolant odor warrants immediate attention to prevent engine damage and potential overheating.
When faced with one or more of these signs, it's crucial to consult a qualified automotive technician for a thorough inspection of your radiator and cooling system. A professional assessment will determine whether a replacement is necessary or if there are alternative solutions to address the underlying issues.
Conclusion
Your car's radiator is an essential component of your vehicle's cooling system and plays a crucial role in maintaining optimal engine performance. Paying attention to the signs of a failing or damaged radiator can help you prevent catastrophic engine damage and associated repair costs.
If you notice any of the indications discussed above, it's time to contact Goodhood for a professional assessment and timely replacement services. We understand the importance of keeping your vehicle in absolute peak condition, so you can count on us for superior service and lasting peace of mind!
Frequently Asked Questions
How can I tell if my radiator is leaking?
If your radiator is leaking, you may notice puddles of coolant beneath your vehicle or detect a sweet smell while driving. You should also check for cracks or corrosion in the radiator's structure, which could lead to leaks.
How often should I replace my car's radiator?
Most radiators can last between 8 to 15 years, depending on usage and maintenance. To ensure reliable performance and longevity, it's recommended to inspect your radiator regularly and address any visible signs of deterioration promptly.
What are the consequences of a failing radiator?
A failing or damaged radiator can lead to engine overheating, which can cause severe damage and costly repairs. Additionally, a failing radiator can affect the engine's performance and lead to misfires or reduced power and acceleration. Therefore, it's essential to address any signs of radiator trouble promptly. And regularly check for low coolant levels to prevent cooling system issues.
What should I do if my car is overheating?
Excess heat can cause significant damage to the engine components.
If your vehicle is overheating, you should immediately turn off the heater and switch on the air conditioning to reduce the load on the engine cooling system. You should also check your coolant level and ensure the cooling fan runs properly. If the problem persists, it's better to just contact a qualified mechanic for assistance immediately.
What is the process of replacing a car's radiator?
Replacing a car's radiator involves draining the old coolant, removing any debris from the area around the radiator, disconnecting the hoses and electrical connections, carefully extracting the damaged radiator, installing a new one, reconnecting all components and hoses to it, refilling with fresh coolant, and testing for leaks.
A pressure test of the radiator can also help identify leaks or weak spots.
It is advised to seek professional assistance when performing this procedure, as incorrect installation can lead to further damage.
Why are air bubbles in my radiator bad?
Air bubbles can form in your car's radiator due to various issues, such as low coolant levels or a faulty water pump. These air bubbles inhibit the flow of coolant, preventing it from adequately dispersing heat and leading to engine overheating. If you notice air bubbles in your radiator, diagnosing and addressing the underlying cause promptly is essential.
Can I replace my own radiator?
While technically it's possible, it is not recommended that you attempt to replace your own radiator without prior experience or knowledge in automotive repairs. Unless you have significant mechanical experience, it is best to let a professional take care of the job. Incorrect installation can lead to further damage, so it's best to leave it to experienced technicians.