DIY Guide: How to Perform a Basic Tune-up at Home


Unleash your inner mechanic and take control of your vehicle's performance with our comprehensive DIY guide: How to Perform a Basic Tune-up at Home.
In a world where convenience often takes the wheel, there's something immensely satisfying about rolling up your sleeves, grabbing a wrench, and diving into the intricacies of your beloved four-wheeled companion.
By embarking on this journey, you'll not only save some hard-earned cash but also acquire the empowering knowledge to keep your ride purring like a contented feline.
So, gear up, get ready to revitalize your vehicle, and let us guide you through the exhilarating realm of hands-on automotive maintenance.
Tuning Up Your Car with Goodhood mobile auto repair services
When you think you have mastered the basics of car tune-up, it is time to turn to a professional auto mechanic.
If you don't know where to start, Goodhood mobile auto repair services are an excellent choice for people who want their vehicles serviced and repaired without having to leave their homes.
Goodhood offers comprehensive mobile auto repair services that include oil changes, tire rotations, wheel alignments, brake repair and replacement, suspension repair, and more.
Step-by-step Guide to a Tune-up
Step 1: Gather the Necessary Tools and Materials
Before diving into the actual tune-up process, it's crucial to ensure you have all the necessary tools and materials at your disposal.
Here's a list of items you'll typically need for a basic tune-up:
Spark plugs
Spark plug socket and ratchet
Ignition wires (if applicable)
Air filter
Fuel filter
Oil filter
Oil drain pan
New engine oil
Socket set
Screwdrivers
Pliers
Adjustable wrench
Funnel
Safety gloves and goggles
Make sure to consult your vehicle's manual or do some research to ensure you have the correct parts and specifications for your specific make and model.
Step 2: Replace the Spark Plugs and Ignition Wires
The spark plugs are vital components of your vehicle's ignition system and play a crucial role in the combustion process. Over time, spark plugs can become worn or dirty, resulting in reduced performance and fuel efficiency.
Start by disconnecting the ignition wires (if your vehicle has them) and carefully removing the old spark plugs using a spark plug socket and ratchet. Inspect the condition of the plugs, and if they appear worn or covered in carbon deposits, it's time to replace them. Install the new spark plugs, reconnect the ignition wires, and ensure they are firmly seated.
Step 3: Replace the Air Filter
The air filter is responsible for keeping the air entering your engine clean and free from debris. A clogged and/or dirty air filter can restrict airflow, leading to reduced power and fuel economy. Locate the air filter housing, which is usually located near the engine's intake.
Remove the housing cover and carefully take out the old air filter. Inspect the filter, and if it's dirty or damaged, replace it with a new one. Reassemble the air filter housing, ensuring a proper seal.
Step 4: Replace the Car Fuel Filter
The car fuel filter plays a crucial role in keeping contaminants out of your engine's fuel system. Over time, it can become clogged, affecting fuel flow and engine performance. Consult your vehicle's manual to locate the fuel filter and follow the specific instructions for replacement.
It usually involves disconnecting the fuel lines, removing the damaged or old filter, and installing the new one in its place. Be cautious when working with fuel and ensure proper safety measures are taken.
Step 5: Change the Oil and Oil Filter
Regular vehicle oil changes are vital for maintaining the health and longevity of your engine. Start by locating the oil drain plug underneath the engine and place an oil drain pan beneath it.
Unscrew the drain plug and then allow the old oil to drain out completely. Once drained, reinstall the drain plug and proceed to replace the oil filter.
Apply a thin layer of new oil to the rubber gasket of the brand-new oil filter before installing it.
Finally, use a funnel to add the appropriate amount and type of new engine oil according to your vehicle's specifications. Be sure to dispose of the used oil and filter properly at a designated recycling facility.
Step 6: Inspect and Replace Other Filters (if applicable)
In addition to the air and fuel filters, some vehicles may have additional filters that require periodic replacement. These can include cabin air filters, transmission filters, or PCV (Positive Crankcase Ventilation) valves. Consult your vehicle's manual to identify if your car has any other filters that need attention, and follow the manufacturer's instructions for replacement.
Step 7: Check and Adjust Fluid Levels
Fluids are the lifeblood of a vehicle, and it's crucial to regularly check and maintain their levels. Besides engine oil, you should also inspect the coolant, brake fluid, power steering fluid, as well as windshield washer fluid.
Consult your vehicle's manual to locate the respective fluid reservoirs and ensure the levels are within the recommended range. If any fluid appears dirty or discolored, it may be time for a flush and replacement. Be cautious when working with fluids and avoid any spills or contact with your skin or eyes.
Step 8: Inspect and Clean Battery Connections
A well-maintained battery is essential for reliable starting and electrical system performance. Inspect the battery for any signs of corrosion or damage. If corrosion is present on the battery terminals or cables, use a mixture of baking soda and water to clean them.
Gently scrub the terminals and cables with a wire brush or battery terminal cleaner until they are free from corrosion. Remember to disconnect the negative (-) terminal before cleaning and reconnect it once the cleaning is complete.
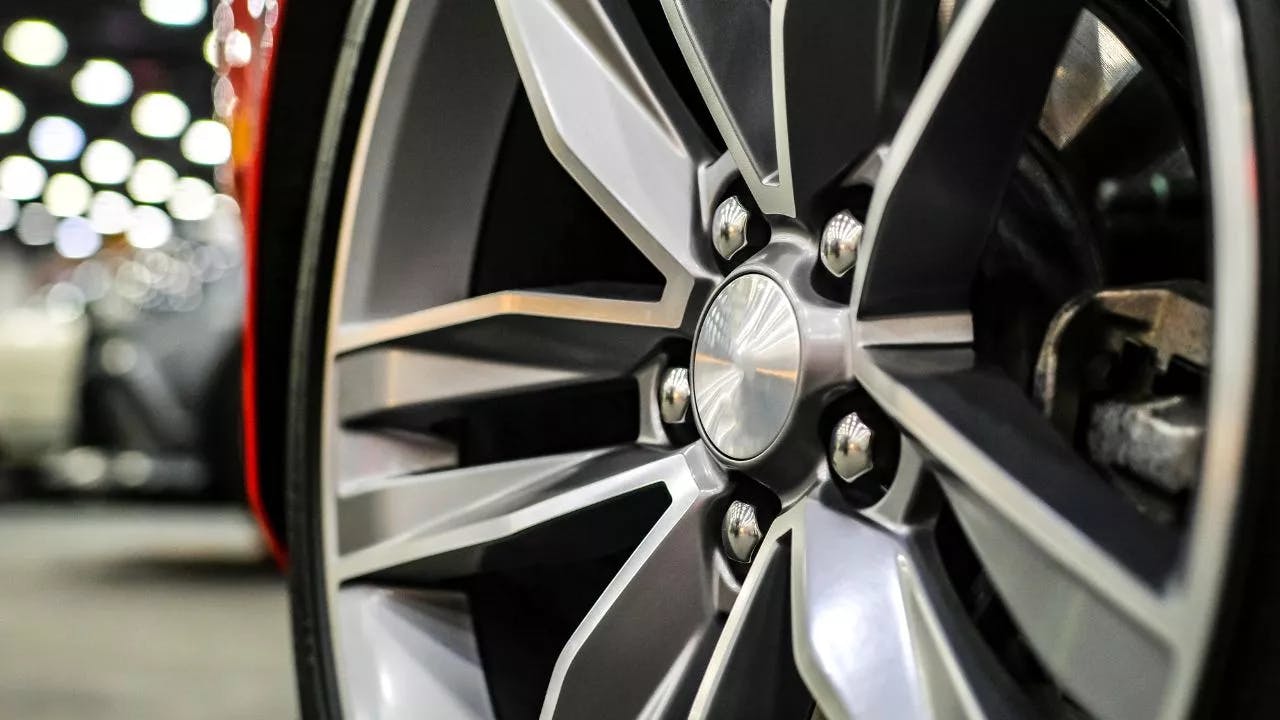
Step 9: Check and Adjust Tire Pressure
Properly inflated tires not only ensure a smooth and comfortable ride but also contribute to fuel efficiency and tire longevity. Utilize a car tire pressure gauge to check the air pressure in each tire, including the spare.
Refer to your vehicle's manual or the sticker on the driver's side door jamb for the advised tire pressure instructions. Inflate or deflate the tires as needed, and don't forget to inspect them for any signs of wear or damage.
Step 10: Test and Inspect Lights and Wipers
Visibility is crucial for safe driving, so it's important to ensure all lights and wipers are functioning properly. Turn on your headlights, taillights, brake lights, turn signals, and hazard lights to confirm they are all working. Replace any bulbs that have burned out. Additionally, check the condition of your wiper blades and replace them if they are worn or leave streaks on the windshield.
Conclusion
And there you have it—a comprehensive DIY guide on How to Perform a Basic Tune-up at Home. Keeping up with regular maintenance and tune-ups is essential for ensuring the reliability, longevity, and performance of your vehicle.
Armed with this knowledge, you can trust in your abilities (and the inner workings of your ride) each time you take it out for a spin. So don't be afraid to get under the hood and enjoy turning wrenches! Good luck!
If the DIY route doesn't seem feasible, don't forget to check out Goodhood for professional repairs and maintenance.
Frequently Asked Questions
How often should I tune up my car?
The frequency of tune-ups will vary depending on your vehicle's make and model, as well as the age and condition of its various components. Generally speaking, most cars require a tune-up every 15,000 to 20,000 miles or one to two years (whichever comes first). If you're unsure, consult your owner's manual or speak with a qualified mechanic.
Does a DIY tune-up invalidate my car warranty?
Unless specified by your manufacturer in terms of your warranty agreement, performing routine maintenance such as oil changes and filter replacements won't void your warranty. However, it is always better to consult your manual or reach out to a qualified mechanic before performing any repairs.
What happens if I don't tune up my car?
Skipping regular maintenance and tune-ups can cause serious mechanical damage to your vehicle, resulting in expensive repair bills down the line. Additionally, it can affect fuel economy and performance and reduce its overall lifespan. To make sure the safe and reliable operation of your vehicle, be sure to keep up with routine maintenance and necessary tune-ups as recommended by the manufacturer.